How To Use Direct to Garment Application
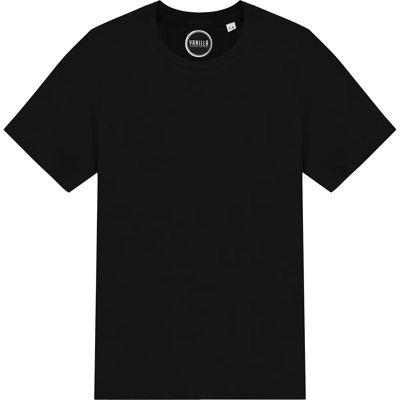
Direct To Garment (DTG) application is a process of printing straight onto garments that are either 100% cotton or have a cotton print face, specifically designed for DTG.
Xpres covers your complete DTG workflow with printers, pre‑treatment, heat presses, and DTG‑approved clothing, backed by over 40 years of UK print experience:
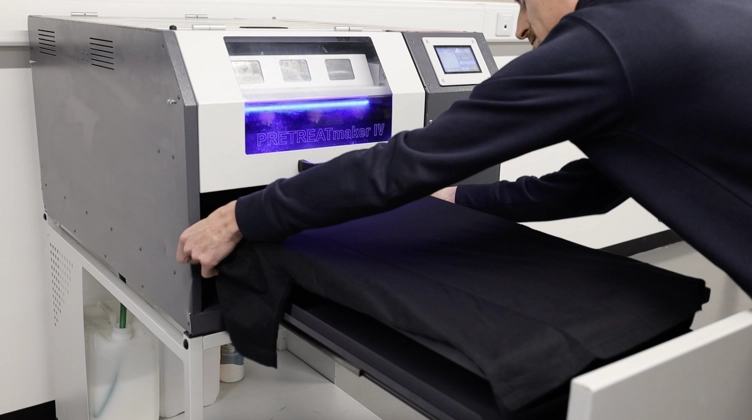
1. When printing black or dark garments, white ink is needed. Therefore, the garment will need to be pre-treated to prevent the white ink from penetrating the fabric. This can be applied using a pre-treatment machine or by hand.
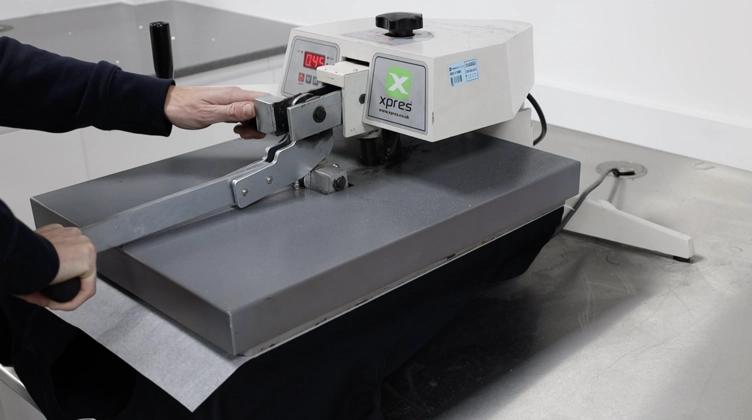
2. The pre-treatment then needs to be dried. This can be done using a tunnel dryer, an oven dryer or on a heat press. We always recommend pressing the garment before printing to flatten down any fibres on the garment.
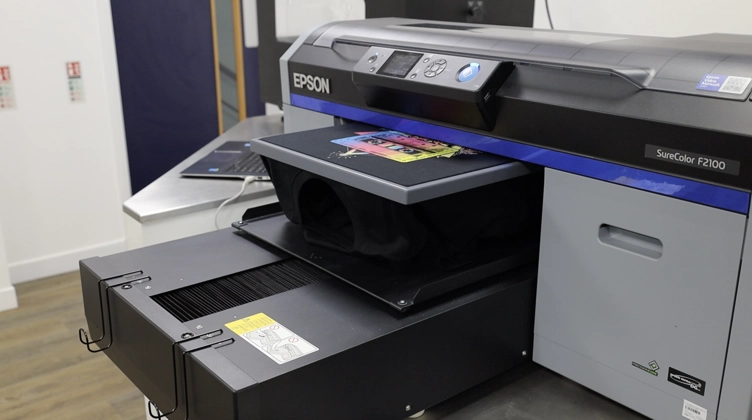
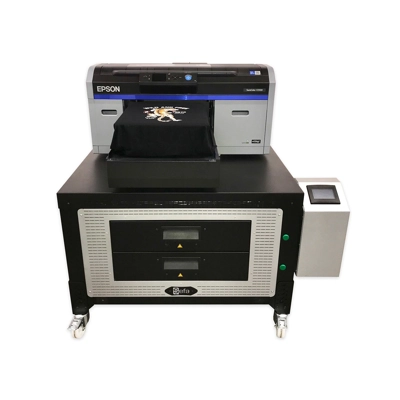
3. Once dried, load the garment onto the platen of the DTG printer, making sure it is flat. Select the design and the settings required for the garment type and set to print.
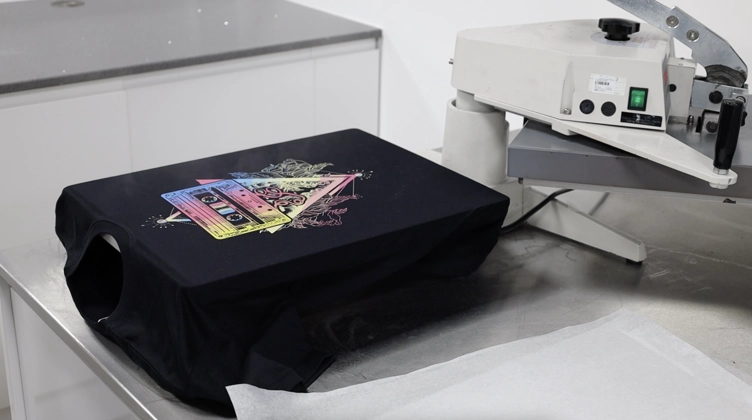
- When printing is finished, carefully take the garment off the platen. The inks now need to be cured; this can be done using a heat press, tunnel dryer or drying oven, following the ink and garment manufacturer’s time, temperature, and pressure recommendations.
Always run a test print to dial in your exact DTG heat press settings for your ink, garment and pre‑treat.
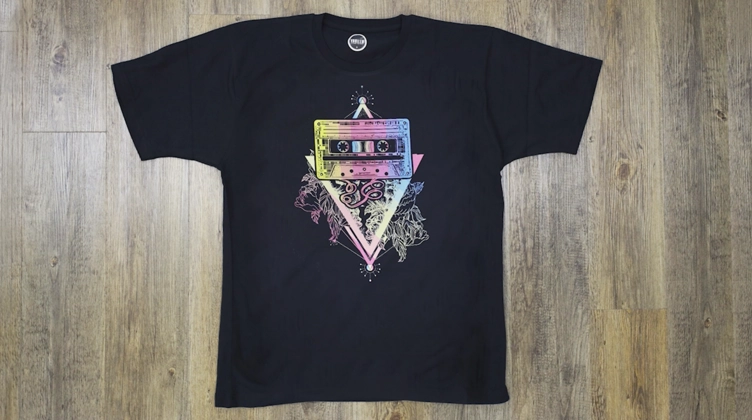
5. Once cured and cooled, check the print for colour accuracy, coverage, and curing. Your garment is ready to pack and ship to customers.
Why choose DTG printing?
- Speedy and efficient for short runs and on‑demand orders.
- No minimum orders, ideal for personalised or one‑off designs.
- Minimal setup time and cost versus screen printing on small batches.
- Perfect for online selling and dropshipping or print‑on‑demand models.
- Unlimited colours and excellent detail in complex designs.
- Environmentally friendly water‑based inks and reduced waste for short runs (compared to an analogue setup).
Ready to start DTG printing? Shop our full range of DTG printers, pre‑treatment systems, heat presses and DTG‑approved garments.
1. What can I DTG print onto?
Direct To Garment printing works best on garments that are either 100% cotton or have a cotton‑rich print face specifically designed for DTG.
2. Do I need to do anything to the garments before printing?
If you are printing with just CMYK, then mostly no. However, if you are printing using white ink on dark clothing or printing onto polyester, then you will need to pre-treat the garment first to prevent ink from sinking into the fabric and to keep colours vibrant.
3. What equipment is required?
A complete DTG setup needs a few core machines plus some supporting accessories to keep prints consistent and durable for your customers.
-
Computer or tablet for designing
- Heat press or curing unit
4. Can you easily maintain a DTG Printer?
Maintenance, pre-treatment, and curing garments are all extremely easy with the best DTG printers on the market.
What DTG heat press settings should I use?
Exact DTG heat press settings vary depending on your ink, garment type, pre‑treat and press, so always follow the ink manufacturer’s guidance first. As a general rule of thumb, many DTG decorators cure at medium to firm pressure in the 150–180°C range for around 30–60 seconds, then adjust based on test prints


