Your basket is empty
What Do I Need To Start Sublimation?
If you've ever dreamed of creating personalised mugs, cushions, t-shirts or coasters that not only look great but sell well too, you're in the right place. Sublimation is one of the easiest and most accessible ways to start your own creative business or side hustle.
To start sublimation, you’ll need a sublimation printer, sublimation ink and paper, a heat press (or a mug press if you’re doing drinkware), and sublimation-ready blank products that are polyester or coated. Most beginners also need heat tape, protective sheets, and a simple set of pressing settings for their first projects.
This blog will walk you through what sublimation is, what equipment you'll need, and how to press your first product. Whether you want to sell on Etsy, at local markets or to friends and family, we’ll help you go from curious to confident in just a few pages.
Quick links
- What is sublimation?
- Why beginners love it
- What you need to start
- What you can & can’t sublimate
- Step-by-step: Your first print
- FAQs
What is sublimation? (And why it’s so popular)
Sublimation is a digital printing process where heat turns sublimation into a gas, which bonds permanently with the surface of your product, like polyester fabrics or specially coated blanks (e.g. mugs, bottles, coasters).
Unlike vinyl or transfers that sit on the surface, sublimation ink becomes part of the material, resulting in a smooth, professional finish that won’t peel, crack, or fade over time, which is one of the big reasons why it’s so popular for personalised products.
The result is:
- Smooth, professional finish
- No cracking or peeling
- Full-colour, high-quality designs
- Long-lasting prints
One thing that often surprises beginners is that your design may look dull on paper when it first prints – but that’s completely normal. The colours come to life during pressing, once heat is applied.
Why Beginners Love Sublimation Printing
Compared to other custom printing methods, sublimation is incredibly accessible. It’s often one of the easiest ways to start making personalised products, especially if you’re new to printing.
Here’s why creators choose it:
- Easy to learn over time, as once you’ve got your setup, the process is simple and repeatable.
- No weeding or layering like HTV - you can apply your print directly from the printer onto your product and peel away without any excess material.
- Quick and consistent results, so you can create good quality items in a short space of time.
- Wide range of products to customise.
- Perfect for small businesses and side hustles, as it works whether you’re making gifts for friends and family or scaling into something bigger.
Once you understand the basics, you can produce sellable products within days.
Is sublimation right for you?
Sublimation is a great fit if you want full-colour designs (including gradients and photos), fast production with consistent results, and a wide range of coated blanks to customise.
But it’s important to note that if you want to specifically print t on 100% cotton garments (without using additional processes or coatings), you may want to explore other options.
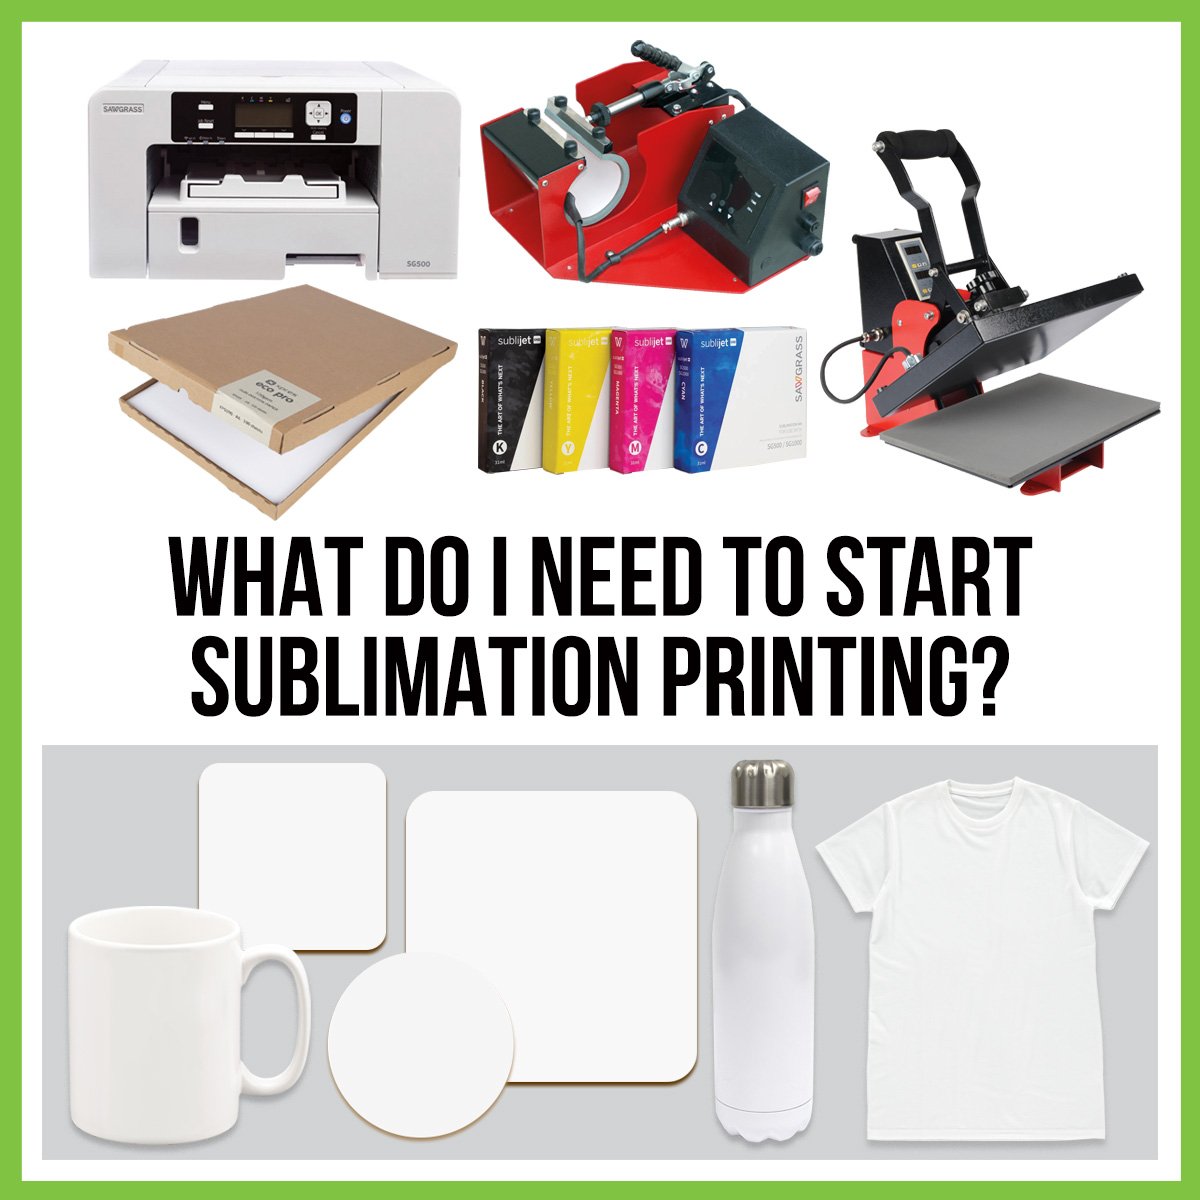
Sublimation Printing Equipment: What You Need to Start
The good news is that you don’t need a huge workshop or complicated setup to get started. Most beginners can start with essentials and then build up their equipment as they learn what they enjoy making (and what sells best).
Here’s your essential sublimation starter kit.
1. Sublimation Printer
A sublimation printer designed to use sublimation ink and paper that converts your digital designs into printable transfers. It’s the foundation of your setup, as without it, you can’t create the prints that get pressed onto your blanks.
Practical tip: think about print size before you buy:
- A4 printers are ideal for smaller items like mugs, coasters, keyrings, and small graphics.
- A3 printers can be useful if you want to print larger designs, work on bigger blanks, or print multiple designs at once.
- Wide Format printers are great for producing large continuous designs on polyester fabrics, flags, banners or promotional apparel.

Our recommendation: Sawgrass SG500 A4 Printer Starter Install Kit Deal. With low startup and running costs, it’s perfect for those who want to start creating personalised products at home.
2. Sublimation Ink
Special sublimation ink is not the same as standard inkjet ink. It turns into gas when heated, bonding permanently with polyester fibres or coated surfaces.
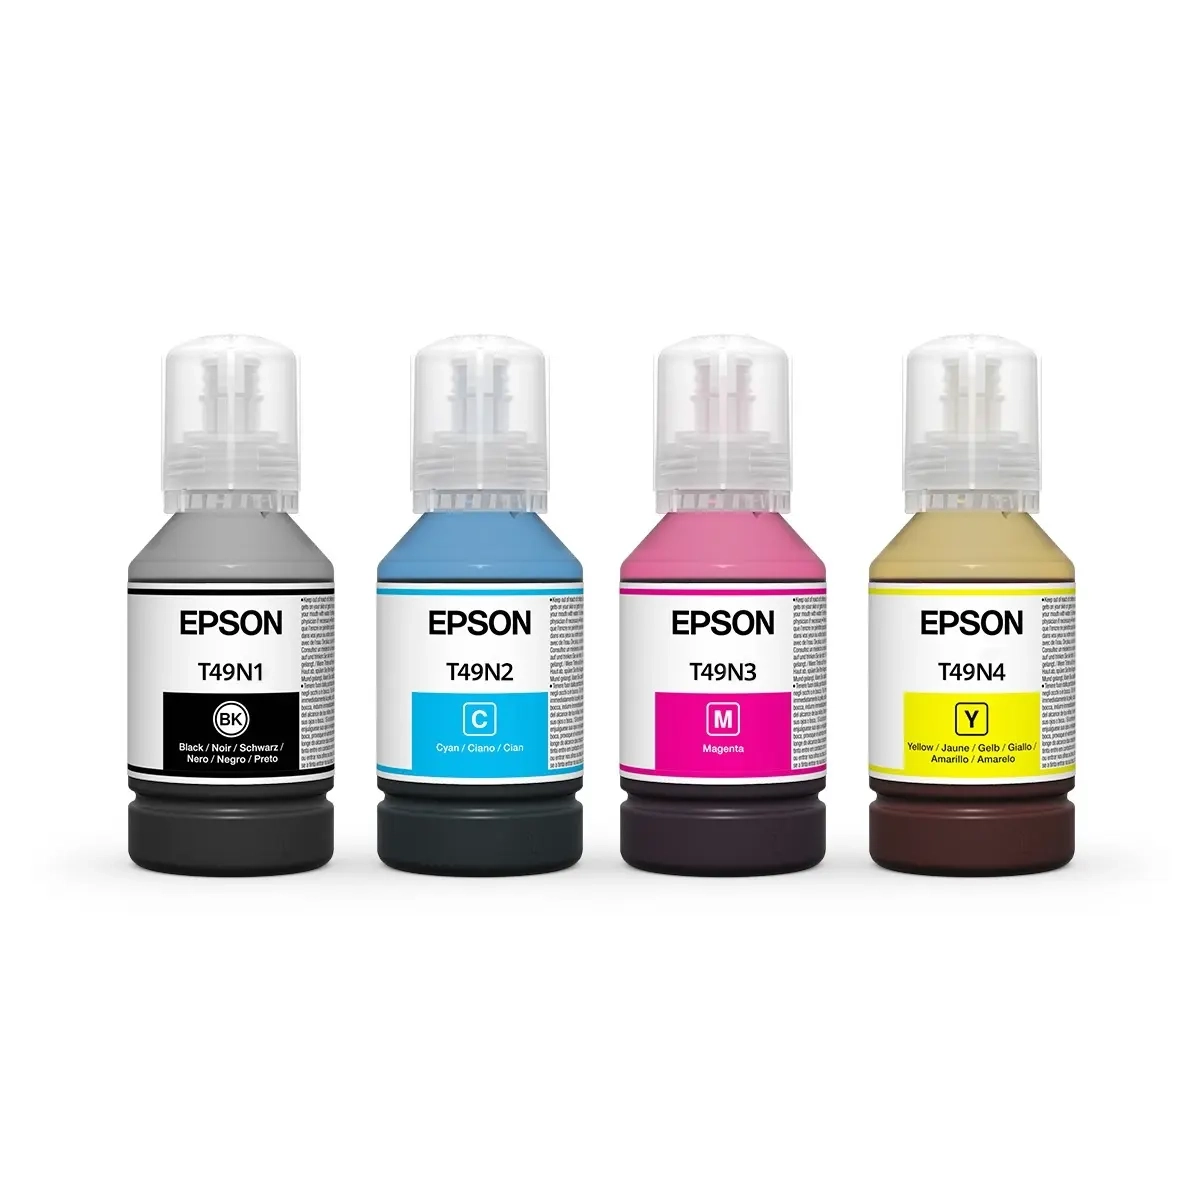
Our recommendation: Epson's UltraChrome DS Ink for SC-F500 and SC-F100 innovative ink bottles can be used to replenish the ink while printing, significantly reducing downtime.
A simple way to avoid issues as a beginner is to use sublimation ink that’s compatible with your printer model. This helps reduce the risk of clogging, colour problems, or inconsistent prints.
Storage tip: keep your ink sealed and stored at room temperature, away from heat and direct sunlight, and check any guidance on shelf-life once opened.
3. Sublimation Paper
Sublimation paper plays a bigger role than many beginners expect, as it ensures a clean transfer. It’s designed to hold ink on the surface, so when you press your design, the ink can release efficiently onto your blank.
Beginner tip: make sure you’re printing on the correct side of the paper – it’s an easy mistake that can waste time (and blanks).
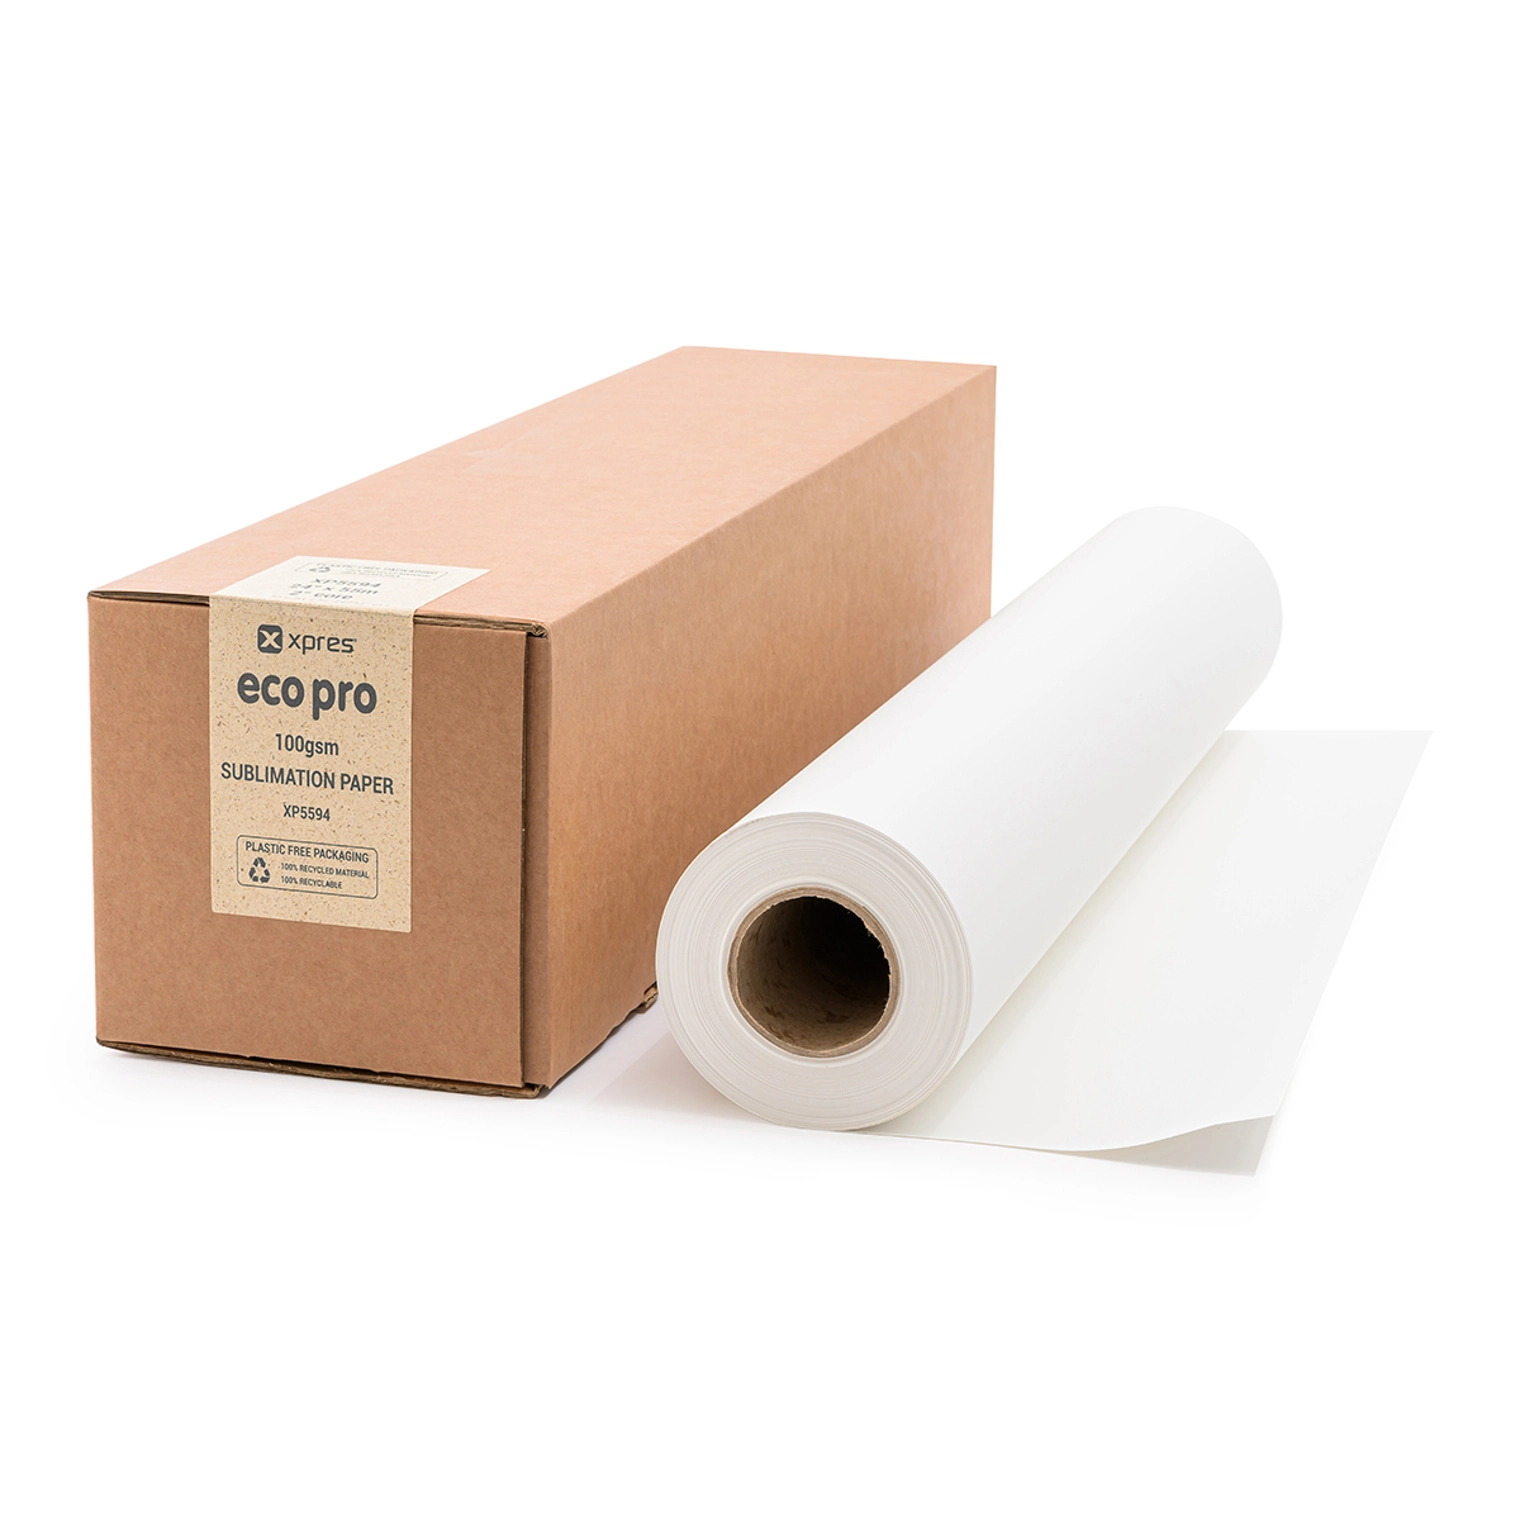
Our recommendation: Available in sheets and rolls, Xpres Eco Pro is suitable for both textile and hard surface sublimation blanks. You can choose from a range of sizes, including mug sheets, to save you time cutting to size.
If you’re choosing between options, paper weight can make a difference, but the most important thing is using paper made specifically for sublimation to get clean, vibrant transfers.
3. Heat Press
Heat is what activates sublimation, so a reliable heat press is essential.
A flat heat press is used for garments and flat blanks (like tote bags, coasters, plaques, or fabric items).

Our best seller is the Adkins BETA Swing Press 50x38cm, which delivers the highest, most consistent pressure on the market, plus excellent machine strength and durability even in the most demanding environments.
A mug press is designed specifically for drinkware, because it applies consistent heat and pressure around a curved surface. You can’t get an even transfer on mugs or bottles with a flat press alone.

Perfect for beginners, the Adkins STUDIO Mug Press is ideal for standard mugs and the heating element is interchangeable with the smaller porcelain element (available separately) which allows you to also press sublimation porcelain mugs and sublimation water bottles.
Beginner tip: consistency matters more than fancy features. A press that holds a stable temperature and provides even pressure will usually give better results than one with lots of “extras” but uneven heat.
4. Sublimation Blanks
Sublimation only works on the right blank products:
- Polyester fabrics (ideally, a higher polyester percentage for brighter results)
- Polymer-coated blanks (such as mugs, bottles, coasters, keyrings, etc.)
A general rule of thumb: the higher the polyester content (65%+), the more vibrant your print will be.
Beginner-friendly blanks to start with include:


5. Design Software
You’ll need design software to size your artwork correctly, set it up for printing, and (in most cases) mirror your design so it transfers the right way round.
For beginners, tools like Canva can work well, just make sure your files are high quality. As a general rule, aim for high-resolution artwork (often 300dpi for print-quality designs, where possible). If you’re more advanced in graphic design, other programs like Photoshop and CorelDraw may be more suitable for you.
If you plan to sell your finished products, it’s also worth checking that you have the right commercial usage rights for any graphics or fonts you use. You can look into platforms like iStock or Creative Market to buy the rights to those you like.
6. Workflow Essentials (small items that prevent mistakes)
Once you have the core equipment, these smaller essentials make a big difference. They help you avoid common beginner issues like ghosting, stray ink marks, and speckled prints, and they’ll save you time (and blanks) as you learn.
Heat tape
Heat-resistant tape is used to hold your sublimation paper in place on the blank while you press. If the paper shifts even slightly during pressing, you can end up with ghosting, which is a faint shadow or a double-image effect around your design.
You’ll use heat tape most often on:
- mugs and bottles
- keyrings and coasters
- any blank where movement is more likely during pressing
Common mistake: not taping securely (or removing tape too early), which can cause the paper to lift or move as heat is applied.
Protective sheets
Protective sheets are a simple but essential part of sublimation. When ink turns to gas under heat, it can travel beyond the edges of your design. Protective sheets act as a barrier so that any excess ink doesn’t transfer onto your heat press or the next item you press.
- Using protective sheets helps:
- Prevent unwanted ink marks (often called ‘blowout’)
- Keep your press clean
- Protect garments and blanks from accidental transfer
A good basic habit is to place a protective sheet above and below your blank when pressing.
Heat-resistant gloves
If you’re pressing mugs, bottles, or other drinkware, heat protection gloves are a smart safety essential. Items come out extremely hot, and gloves make it easier to handle blanks safely and confidently, especially if you’re producing multiple items in one session.
They also help your workflow, because you can remove items quickly without waiting as long for them to cool.
Nice-to-have upgrades (once you’re confident)
Once you’ve got the basics down, these extras can help improve consistency and speed, especially if you start making larger batches.
- Pressing pillows: useful for garments with seams, zips, buttons, or awkward areas where pressure is uneven.
- Spare silicone/protective sheets: handy if you’re doing lots of pressing and want clean backups ready.
- Extra paper sizes: useful if you move into larger blanks or start printing multiple designs per sheet.
What can and can’t be sublimated?
One of the most important things to know early on is that sublimation only works on the right materials.
What sublimation works best on
Sublimation bonds permanently with:
- polyester fabrics (higher polyester content of 65% or more usually means brighter results).
- polymer-coated blanks, such as mugs, bottles, coasters, keyrings, and other coated items made for sublimation.
What doesn’t work well
Sublimation does not bond effectively with 100% cotton garments, unless you use additional methods, coatings, or specialist solutions.
Beginner tip: If you’re unsure, the simplest rule is to always check the product listing to confirm it’s suitable for sublimation (eg., polyester content for clothing, or coated sublimation-ready blanks for hard items).
Step-by-Step: Your First Sublimation Print
Ready to try your first project? Sublimation is very beginner-friendly once you follow a simple process. Start small, take your time with prep, and don’t worry if your first attempt isn’t perfect, as you’ll quickly improve after a few tries.
Choose your project
If you’re just getting started, pick a project that’s low-risk and easy to press. The best “first wins” are usually mugs, coasters, keyrings, and tote bags (polyester or sublimation-ready).
These are great beginner projects because they’re quick, they tend to produce strong results, and they help you learn the basics (taping, positioning, and pressing) without too many variables.
Design your artwork
Keep your first design simple, like a name, a short phrase, or a single graphic. When you’re learning, it’s easier to spot what worked (or what didn’t) without lots of detail.
A few quick tips:
- Use high-resolution artwork where possible (often 300dpi is recommended for print-quality designs).
- Size your design correctly for your blank before printing.
- In most cases, you’ll need to mirror your design so it transfers the right way round when pressed (especially for text).
If you plan to sell your products, make sure any graphics/fonts you use allow commercial use.
Print using your sublimation printer
When it’s time to print, make sure you’re using sublimation paper (not regular copy paper) and the correct printer settings/profile recommended for your setup (this helps with colour accuracy and consistency).
One thing to remember is that sublimation prints often look dull on paper. But don’t worry, that’s normal, as the colour will develop during pressing when heat is applied.
Prepare your blank
Prep is one of the biggest factors in getting clean results.
For hard blanks (like mugs, bottles or coasters), wipe the surface so it’s clean and dust-free before taping your design.
For garments or fabric blanks, make sure the surface is lint-free, and use a lint roller if needed. When you’re pressing fabric, it’s also a particularly good idea to pre-press for a few sections to remove moisture and creases. This helps improve consistency and colour payoff.
Tape and Protect
Before you press, secure and protect your project by using heat tape to hold the design in place. This helps prevent shifting and reduces the risk of creating a shadow-like double image (also known as ghosting).
You should also place a protective sheet (silicone/Teflon paper) above and below the blank to stop any ink transfer onto your press or onto the next item you press.
Press it
Pressing is where everything comes together, so consistency here matters.
As a general rule, many sublimation projects sit around 180–200°C for 40–70 seconds, with medium pressure. However, settings can vary depending on the blank, the material, and the press you’re using.
The most important advice here is to always follow the blank’s recommended time, temperature, and pressure settings to ensure the best results.
Peel & admire!
Once pressing is done, let the blank cool slightly (especially drinkware, as it can get very hot) and carefully remove the paper.
Try to avoid re-pressing unless you really need to, as additional pressing can sometimes dull colours or create unwanted marks depending on the blank and coating.
And there you have it – your first sublimation product is ready!
To explore our full range of products and supplies, check out the Sublimation category. You can also look through our extensive How To Guides to learn more about sublimating a specific product.
FAQs
What supplies do you need to start sublimation?
To start sublimation, you’ll need a sublimation printer, sublimation ink, sublimation paper, and a heat press. If you want to create drinkware, you’ll also need a mug press. Finally, you’ll need sublimation-ready blanks (polyester fabric or coated products), plus a few workflow essentials like heat tape and protective sheets to prevent ghosting and stray ink transfer.
Do I need a special printer for sublimation?
Yes, you’ll need a printer that can print using sublimation ink. Many beginners choose a dedicated sublimation printer because it’s designed for sublimation from the start and is usually simpler to set up and maintain. The key is that the printer must be compatible with sublimation ink, and you’ll also need sublimation paper to produce transfers that press cleanly onto your blanks.
What are common sublimation mistakes?
Common beginner mistakes include forgetting to mirror the design, printing on the wrong side of the paper, not taping the design securely (which can cause ghosting), and pressing with incorrect time/temperature/pressure. Pressing for too long/too hot leads to scorched or discoloured prints; however, not pressing long enough or too cool will result in blurred or faded prints.
Moisture and lint on fabric can also affect print quality.
A little prep goes a long way, so clean blanks, lint-roll garments, and follow the blank’s recommended pressing settings will increase consistent results.
What is a good first sublimation project?
Mugs, coasters, keyrings, and polyester tote bags are great first projects for those learning sublimation. They’re beginner-friendly because they’re quick to press, tend to give strong results, and help you learn the basics (positioning, taping, and pressing) without too many variables. Starting with a simple design (like text or one graphic) can also help you build confidence quickly.
Which is better, Cricut or sublimation?
They’re different tools for different outcomes. A Cricut machine is mainly used for cutting materials like vinyl, which is then applied to products (often as a layer on top). Sublimation is a printing method where ink bonds to the material, creating a smooth, full-colour finish that won’t crack or peel.
If you want vibrant, long-lasting prints on polyester or coated blanks, sublimation is often the better fit. But if you want to cut vinyl designs on a wider range of surfaces, Cricut can be useful.